

Introduction
Wooden 3D puzzle models have surged in popularity as a fun and challenging hobby. These intricate puzzles are not just toys but detailed models that require patience, precision, and a methodical approach. Whether you are a seasoned model builder or a beginner looking to start a new hobby, this step-by-step guide will walk you through the process of assembling complex wooden 3D puzzle models. We will cover the main stages and assembly sequence, along with tips and tricks to ensure your model comes together beautifully.
Main Stages and Assembly Sequence
Understanding the Model and Preparing Your Workspace
Before diving into assembly, it’s crucial to familiarize yourself with the model and set up a suitable workspace.
Choosing the Right Model
- Assess your skill level and choose a model that matches it.
- Consider the complexity and the number of pieces involved.
Reading the Instructions
- Carefully read through the entire instruction manual.
- Identify the stages of assembly and any critical components.
Setting Up Your Workspace
- Ensure you have a clean, well-lit workspace.
- Gather all necessary tools, such as tweezers, sandpaper.
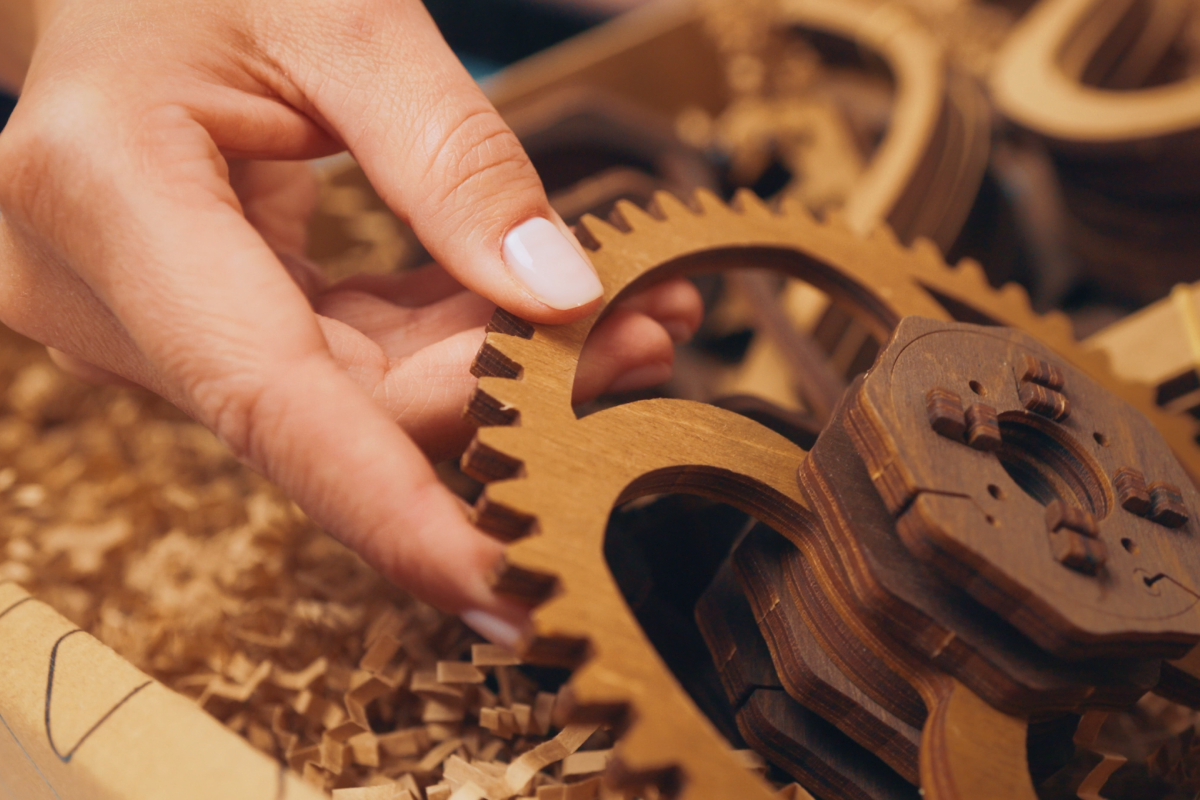
Sorting and Identifying Pieces
Organizing your pieces can save you time and frustration later on.
Removing Pieces from Sheets
- Gently press the pieces out of the wooden sheets.
- Use a fine file or sandpaper to smooth any rough edges.
Sorting Pieces
- Sort pieces by size and type.
- Group pieces that belong to the same section of the model.
Identifying Pieces
- Refer to the instruction manual to identify each piece.
- Label or arrange pieces in the order they will be used.
Assembling the Base Structure
The base structure provides stability and a foundation for the rest of the model.
Connecting Major Components
- Follow the instructions to connect the larger, structural pieces.
- Ensure all joints are secure and aligned correctly.
Reinforcing the Structure
- Use additional glue if necessary for a stronger bond.
- Allow the base structure to dry completely before proceeding.
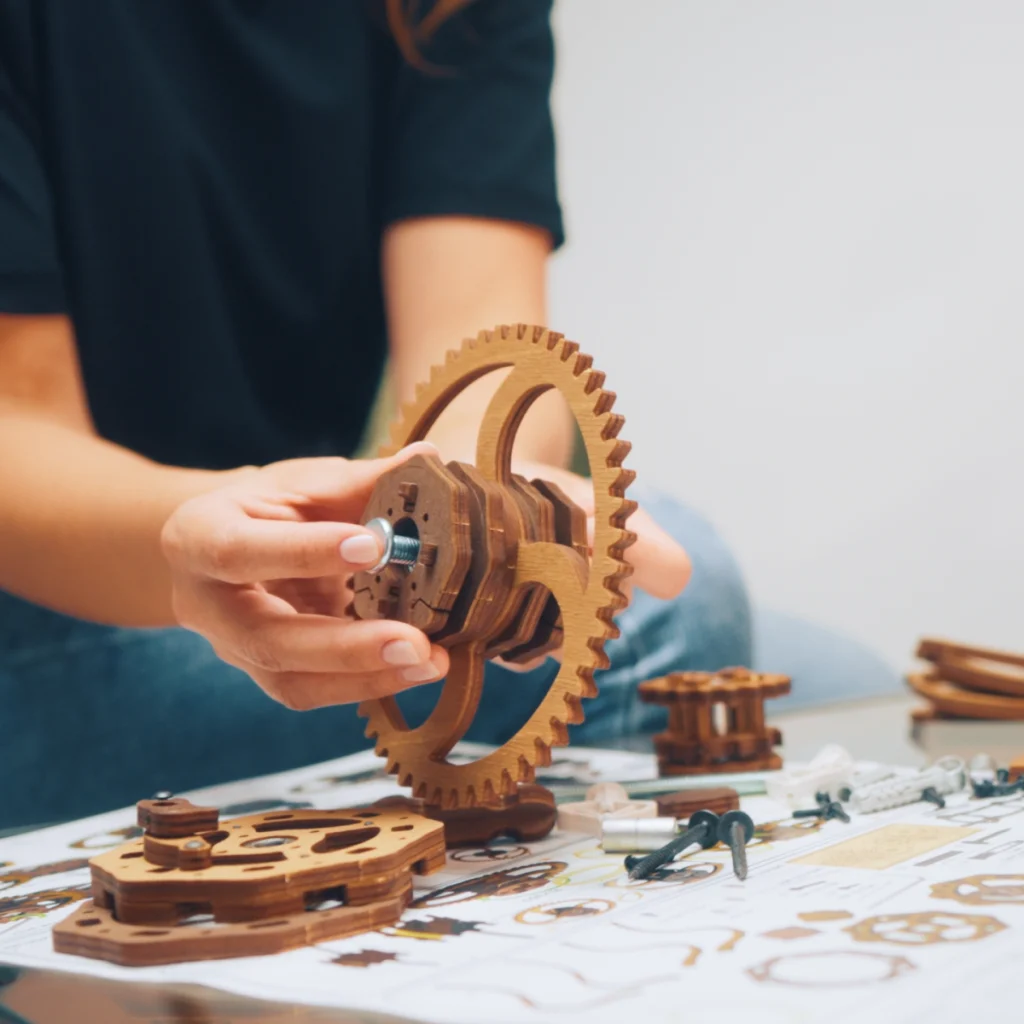
Building Subassemblies
Subassemblies are smaller sections that will be added to the main structure later.
Assembling Subcomponents
- Assemble subcomponents as per the instructions.
- Pay close attention to detail and ensure each piece fits perfectly.
Testing Fit and Function
- Dry fit pieces before gluing to check alignment.
- Test any moving parts to ensure they work smoothly.
Final Assembly and Finishing Touches
The final stage involves bringing all the subassemblies together and adding finishing details.
Combining Subassemblies with the Main Structure
- Attach subassemblies to the main structure.
- Double-check all connections for stability.
Adding Decorative Elements
- Attach any decorative or aesthetic pieces.
- Ensure all parts are securely in place.
Final Adjustments and Touch-Ups
- Make any necessary adjustments for proper alignment.
- Touch up any visible glue spots or rough edges.
Tips and Tricks for Successful Assembly
Patience and Precision
Patience and precision are your best friends when assembling complex wooden 3D puzzle models.
Taking Your Time
- Don’t rush the assembly process. Take your time to ensure each piece fits perfectly.
Precision in Assembly
- Use precision tools for small or intricate pieces.
- Double-check alignments.
Proper Use of Tools
Using the right tools can make the assembly process smoother and more enjoyable.
Essential Tools
- Tweezers for handling small pieces.
- Sandpaper for smoothing edges and ensuring a perfect fit.
- A sharp knife or blade for any necessary adjustments.
Tool Maintenance
- Keep your tools clean and sharp.
- Regularly inspect tools for wear and tear.
Handling Fragile Pieces
Some pieces may be delicate and require special care.
Gentle Handling
- Handle fragile pieces with care to avoid breaking.
- Use tweezers for small or delicate parts.
Strengthening Fragile Areas
- Reinforce fragile areas with a small amount of glue.
- Allow glue to dry completely before moving on.
Dealing with Mistakes
Mistakes happen, but they can be fixed with a bit of patience.
Identifying and Correcting Errors
- Identify any mistakes early to minimize impact.
- Carefully disassemble and reassemble if necessary.
Preventing Future Mistakes
- Learn from your mistakes and apply those lessons as you continue.
- Double-check instructions and parts before assembly.
FAQs
What tools do I need to assemble a wooden 3D puzzle model? Essential tools include tweezers, sandpaper, glue, and a sharp knife or blade. These tools help handle small pieces, smooth edges, and ensure precise assembly.
How can I prevent breaking small or delicate pieces? Handle delicate pieces with care, using tweezers if necessary. Reinforce fragile areas with a small amount of glue and allow it to dry completely before proceeding.
What should I do if I make a mistake during assembly? Identify mistakes early and carefully disassemble the affected parts. Reassemble them correctly, ensuring you double-check instructions and parts to prevent future errors.
How do I choose the right model for my skill level? Assess your experience and choose a model that matches your skill level. Beginners should start with simpler models and gradually move to more complex ones.
Can I use any type of glue for my wooden 3D puzzle model? Use wood glue or a strong, clear-drying adhesive specifically designed for model assembly. Avoid using super glue, as it can be too strong and cause damage.
How can I ensure all pieces fit together perfectly? Dry fit pieces before applying glue to check alignment. Use sandpaper to smooth any rough edges and ensure a perfect fit.